Make a DIY solar oven to help kids to learn about sustainability, solar power and harnessing energy. This is a fun and easy science experiment that also has practical use.
Note: This DIY Solar Oven is a kids activity for experimental purposes only. The oven DOES work but eat your solar-cooked food at your own risk. It’s also important to note that this oven gets HOT so please supervise young children and take care when touching the glass bowl. Use a tea towel or oven mitt for safety.
This kids STEM project was first published in 2017 and has been updated and republished for todays audience
You might also like our DIY speaker from recyclables
We’ve had a super-hot summer this year, apparently the hottest in recorded history. For our location this means more 40ºc+ days than I care to remember (and if you’re from the USA 40ºc = 104ºF).
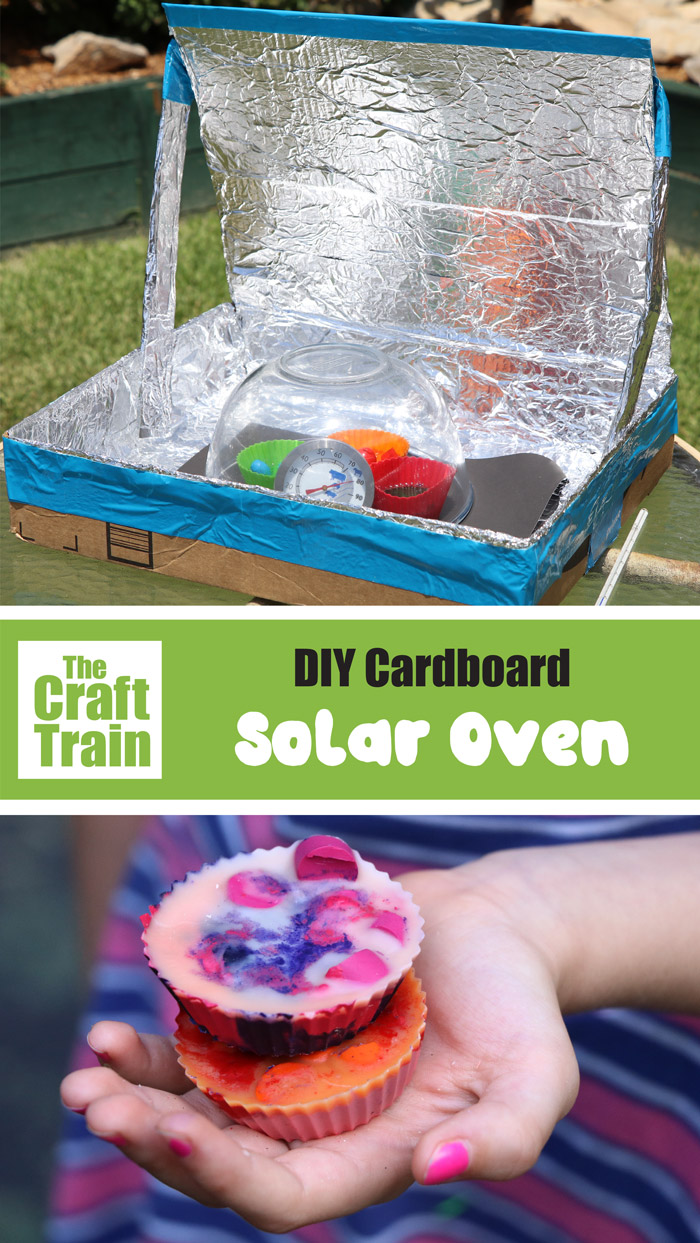
A hot summer is not all bad though! It’s given us multiple perfect opportunities to test out this completely awesome DIY solar oven we made from a cardboard box.
A solar oven works by catching sunlight using a reflector and reflecting it onto a black surface (we’ve used a black sheet of paper). The black surface transforms the light into heat and the upturned glass bowl traps the heat inside. It heats up just like your car does on a hot summer day.
Solar ovens slow-cook food on a low heat over a longer period of time than conventional ovens but they DO work. You can purchase manufactured solar ovens in different designs like this one from Amazon. They are usually used by people when camping or for dehydrating foods. I researched a number of different solar oven designs and DIY projects before coming up with this version.
It’s very easy to make a DIY Solar Oven. This one has been created from a repurposed large Amazon book box which was the perfect size for the job, but any box which is large and flat would be a good fit.
Step 1 | Change your box to have a single flap as a lid. This can be done by removing three of the flaps leaving only one long flap in place. Stick the removed long flap to the one left in place with staples and duct tape. It doesn’t matter that your single flap is slightly shorter than the width of the box because it is only used as a reflector.
Step 2 | Line the inside of your box and flap with aluminium foil and glue it into place with craft glue. Stick the edges of the foil down around the outside of the box with duct tape.
Step 3| Use the discarded cardboard from the short side flaps to create the legs you will use to prop the lid open. Do this by trimming the legs into thin strips (approx. 2 inches wide) with an angle on one end. Stick the legs on at an angle using duct tape. The flexible duct tape join will enable the legs to fold inside the box when you are packing it away. It will also enable the lid to be set at various different angles to best catch the sun’s rays.
Step 4| Place your sheet of black paper inside the box with an upturned glass bowl on top. Place your thermometer underneath the bowl. If you have a second thermometer put that outside the oven so you can compare the two temperatures.
 DIY solar oven – this is a fun and easy science project for kids and teens" width="800" height="1720" />

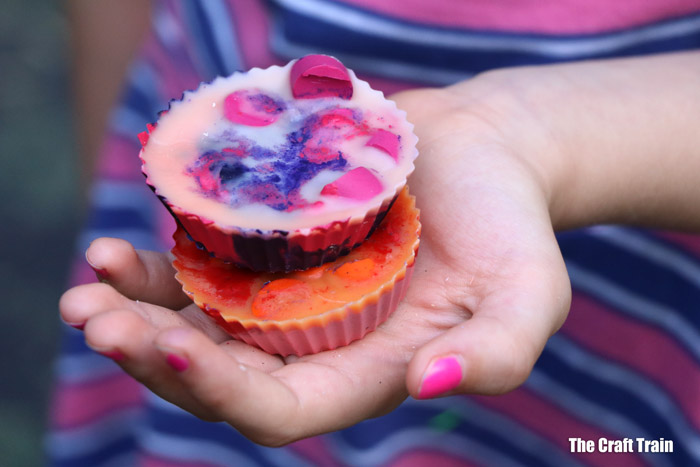
We tried making two different things in our solar oven; Rainbow Crayons and Rocky Road Bites.
This is a perfect recipe for this experiment because it’s not a food item and demonstrates how your oven works. To make them simply chop some old crayons up and place them into silicon cupcake liners. Place the silicon cupcake liners inside your oven and observe them cooking over time. Taking note of the results will give you a good idea of how your oven cooks when it’s time to make a food item.

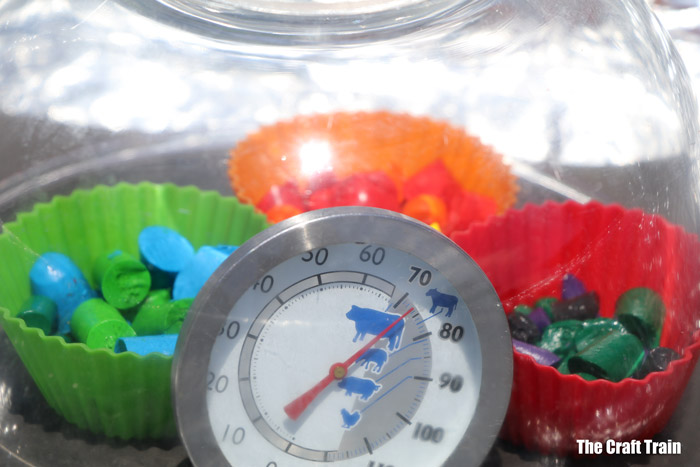
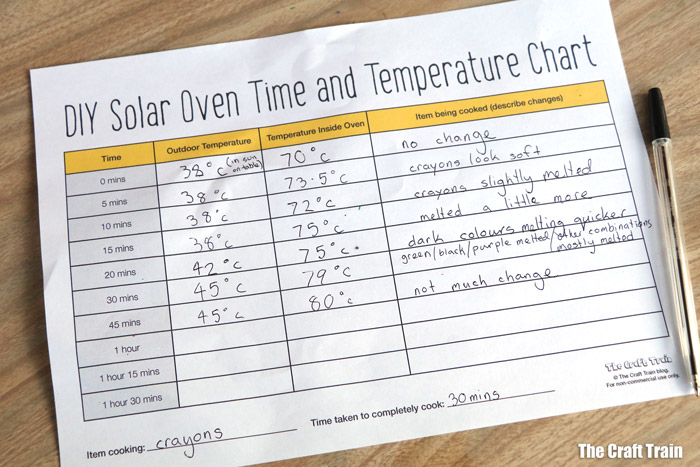
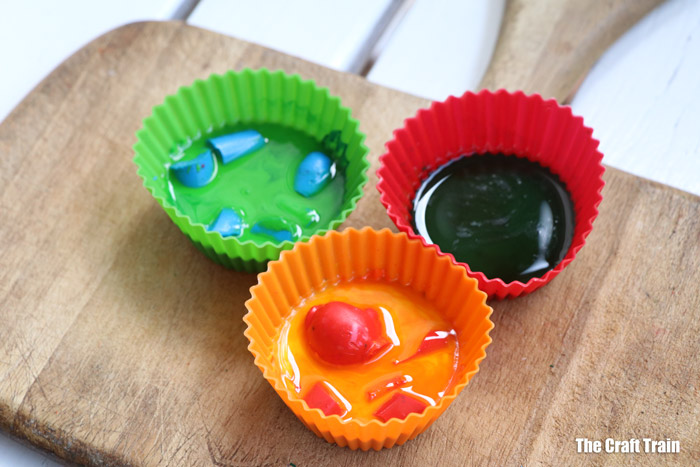
The hottest our oven got on this day was 80ºC (we have seen it reach over 90ºC on a cooler day though!). It was enough to mostly melt the crayons but there were a few chunks left which were obviously not going to change no matter how long we left them in the oven.
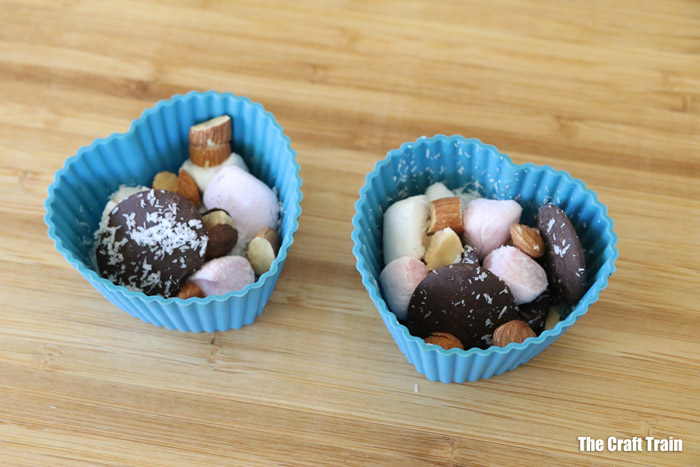
We made these Rocky Road Bites in our solar oven and they were YUMMY! Ordinarily chocolate is best cooked at a low temperature so it’s perfect for your solar oven.
To make Rocky Road Bites place a small amount of chocolate melts (approximately 1 tablespoon) into a silicon cupcake liner along with a scattering of chopped marshmallows, a teaspoon of chopped nuts (I’ve used almonds and hazelnuts) and a teaspoon of desiccated coconut. Place in your oven and observe the results.
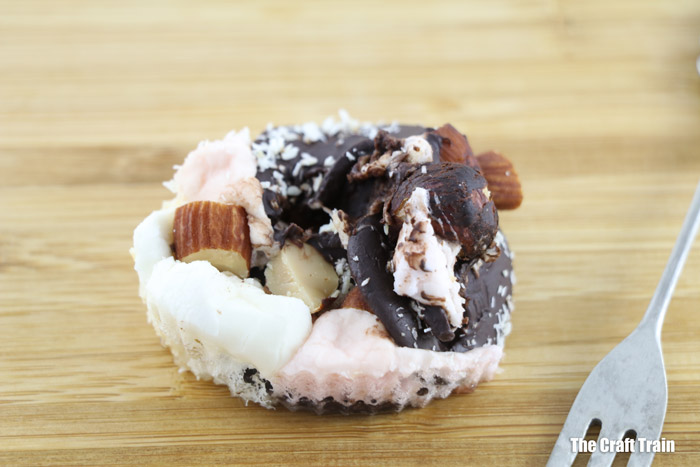
Once the ingredients have melted into a lump that resembles Rocky Road remove them from the oven and refrigerate until set.
Our Rocky Road Bites took over an hour to fully cook but they were worth the wait!
 DIY solar oven" width="800" height="534" />
 DIY solar oven" width="800" height="534" />
Your solar oven is easily folded and packed away to use on another day. I found it a great way for the kids to learn about solar energy and sustainability.
 DIY solar oven" width="800" height="799" />